
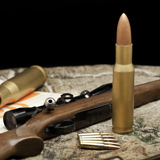
Turning a Bullet Box
The Bullet Box is an intermediate project that is fun and makes a great conversation piece. Before you begin, print the .308 Rifle Cartridge Diagram for sizing reference.
PREPARE THE BLANK
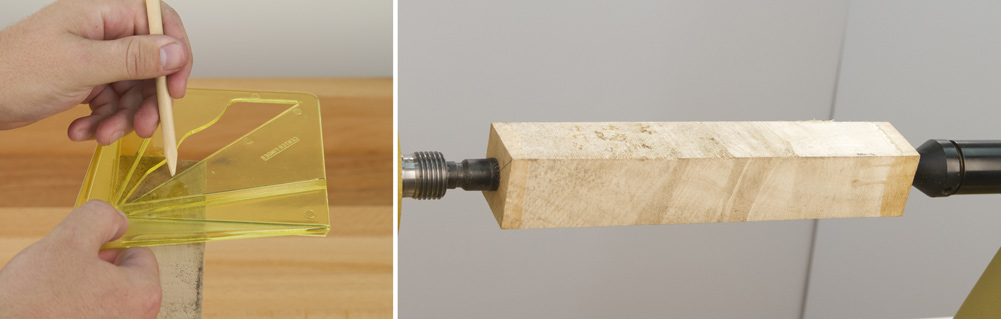
Mark the Center and Mount on the Lathe
Select a wood blank 2″ x 2″ x 12″ and mark the center on each end of the blank. Mount the blank on the lathe between centers using a Cone Center and Drive Center.
TURN THE CARTRIDGE CASE
Using a Spindle Roughing Gouge, turn the blank down to 1-3/4″ diameter, then turn a dovetail tenon on the end of the blank to fit into the jaws of you chuck.
Attach a 4-jaw chuck and revolving center to the lathe and mount the dovetail tenon into the chuck using the revolving center to support the other end.
Using a spindle gouge, turn the blank to the dimensions shown in the .308 Rifle Cartridge Diagram.
Install a drill chuck and 7/8″ forstner bit into the tailstock and bore a hole to your desired depth.
Using a parting tool, part off the blank leaving 1/4″ extra material on the end of the cartridge case.
Turn a 1″ long tenon on the remaining blank to fit in the drilled hole of the cartridge. Check for fit frequently and stop when snug.
Mount the drilled end of the cartridge on the tenon and support with a tailstock revolving center. Turn a slightly concave bottom so the cartridge will stand on a table without wobbling.
Sand the cartridge case with progressively finer grits finishing with 320 grit.
Finish the cartridge with your choice of finish. We recommend using Deft Clear Wood Finish to seal and finish the blank. Apply the Deft to the bullet casing with the lathe stopped using a brush or rag. Apply liberally to the blank and wipe off the excess. Once dry, use a paste wax and steel wool while the lathe is running to smooth the deft, to leave a sealed and streak-free surface.
Optional Step
To make the cartridge look genuine, use our Gold Rub-n-Buff Wax and completely cover the bullet casing keeping the wax as even and consistent as possible. Let the wax dry for 5-10 minutes, use a clean rag and softly buff the wax.
Finally, remove the cartridge from the lathe. Using a sharp chisel or handsaw, remove the remaining waste material on the end of the cartridge. Sand and finish the exposed ends.
TURN THE BULLET
Using the remaining blank, turn the bullet to shape using the dimensions from the diagram with a taper from the tenon to the tip.
Note: Use a revolving center when possible to support the end of the blank. Remove for light sanding and finishing.
Sand the bullet through 320 grit.
Finish the bullet with your choice of finish. We recommend using Deft Clear Wood Finish to seal and finish the blank. Apply the Deft to the bullet with the lathe stopped using a brush or rag. Apply liberally to the blank and wipe off the excess. Once dry, use a paste wax and steel wool while the lathe is running to smooth the deft, to leave a sealed and streak-free surface.
Optional Step
To make the bullet look genuine, use our Copper Rub-n-Buff Wax and completely cover the bullet casing keeping the wax as even and consistent as possible. Let the wax dry for 5-10 minutes, use a clean rag and softly buff the wax.
Use a Parting tool or long point of a skew and part the bullet from the remaining blank. Sand and finish the tip of the bullet.
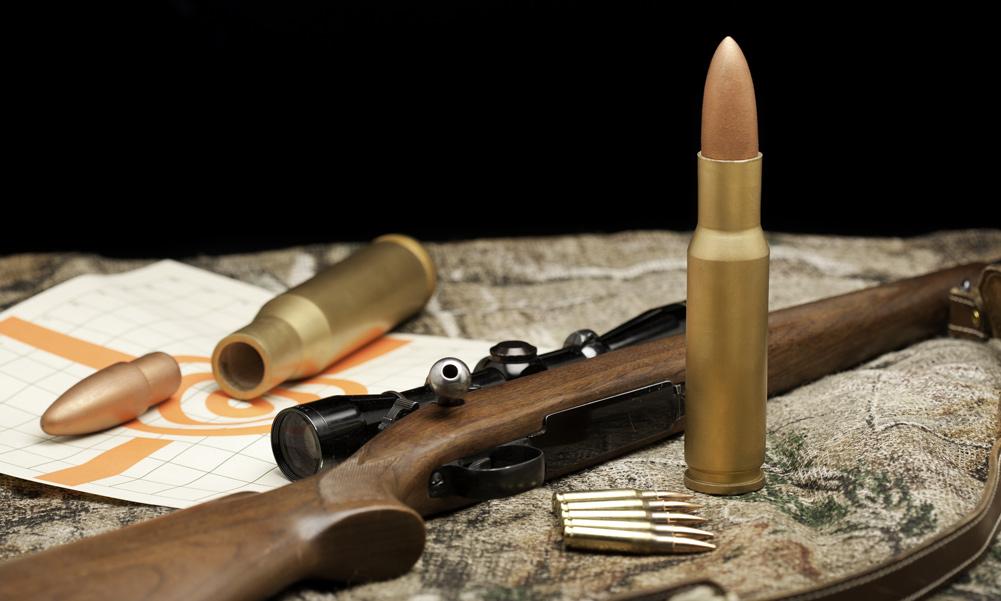
Completed Bullet Box
SUPPLIES USED:
Project Blanks
Artisan Dye
Spindle Gouge
Sand Paper
Sanding Sealer
Mylands Friction Polish
Rub n’ Buff Special Effects Wax
0000 Steel Wool
Paste Wax
Turning a Bullet Box - Craft Supplies USA


No comments:
Post a Comment